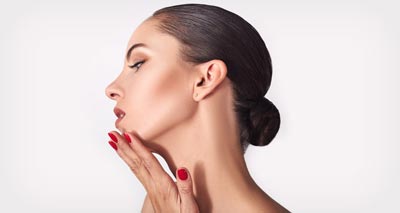
What is contouring? We are sure you have heard the term before, using this makeup method is all the rage right now. This particular makeup technique has been around for a long time and will probably stick around for a lot longer! Don’t be intimidated when starting to use this technique for the first time.
Contouring is a great way to make your natural features pop! Contouring and highlighting go hand in hand. Contouring is used to add shadowing to your features, making you have a sculpted appearance. Here are our 3 easy steps:
- Use your natural bone structure to sculpt your cheeks, neck, or temples. You can use contouring wherever you want to create the illusion of a shadow.
- Add in your highlight (tips on “How to Highlight and Contour”) in order to accentuate and brighten points on your face.
- Finish with a little blush, for good measure.
When to Use Contour
For best results, you should apply your foundation then use your highlighter, contour, and blush after! It will be personal preference whether you decide to do your eye makeup before contouring or after. It all depends on if you are comfortable doing your eye makeup without being able to wipe anything away on the rest of your face. It might be best to do your bold smokey eye before contouring or if you are only applying mascara, you could do this after contouring. The choice is yours!
Deciding Whether to Use Warm or Cool Contour
This is going to depend on the undertones of your skin and exactly what look you go for. A good rule of thumb is picking a shade that is just like your skin’s natural undertone. If you want to go for a more dramatic look, you should go for the opposite of your natural undertones.
Natural Contour
Anyone who has golden skin or warm undertones needs to be picking warm contour colours. If you have pink or cool undertones, you need to pick cool contour colours.
Dramatic Contour
If you want to go for dramatic looks, if you have golden or warm undertones, you need to pick cool contour colours. Whereas people with pink or cool undertones need to go for warm contour colours.
Brushes for Contouring
Depending on what look you are trying to create, this will determine what brush you use. The two main brushes you can use for contouring is a contour brush and a blending contour brush. Most of these brushes, no matter what brand you buy, are super soft, vegan, and use animal free bristles. You don’t have to get both brushes to create a contour look, you can use them individually but when used together, they can create the perfect sculpted contour look!
Let’s go over the differences between a contour brush and a blending brush.
Contour Brush
Brushed specifically used for contouring are large, with densely pack bristles, with a flat structure to them. This helps for sculpting along the cheekbones, jawline, forehead, and nose.
Blending Brush
This is a large brush with an angled top, multipurpose, medium-density brush that will enhance blending and your features. This brush should be used to apply contouring down the sides of your face, using a 3-shape brush stroke. When doing both contour and highlighter, once you get to the highlighting stage, use the blending brush to blend together a seamless, perfect, soft, glow effect between the contour and highlighter. This brush is also great for adding blush!
